Imaging Small-ish Objects
Large, detailed artworks from the palm of your hand.
# Large Artwork is the Best
If you want to make a dramatic image, making it very large is a good way to start. While size doesn’t make artwork good, it does enable it to be seen from far away, and for it to make an impact in your living room.
# Detailed Artwork is also good
Detailed images invite the viewer to get up close to the image and explore it further. By stepping towards the image, you are seeing more and more. This effect isn’t just limited to figurative content, like seeing a tiny figure in the background – any image content that is small and interesting can have this effect.
# Creating big artwork is a pain
Making large artwork is inconvenient! Studio space is expensive, large paintings create a mess and give off bad smells. Is there a way to have fun creating huge, detailed artworks at home?
I was faced with this problem during the COVID lockdown and came up with a solution: miniature compositions, enlarged photographically.
# Imaging set up for very detailed images
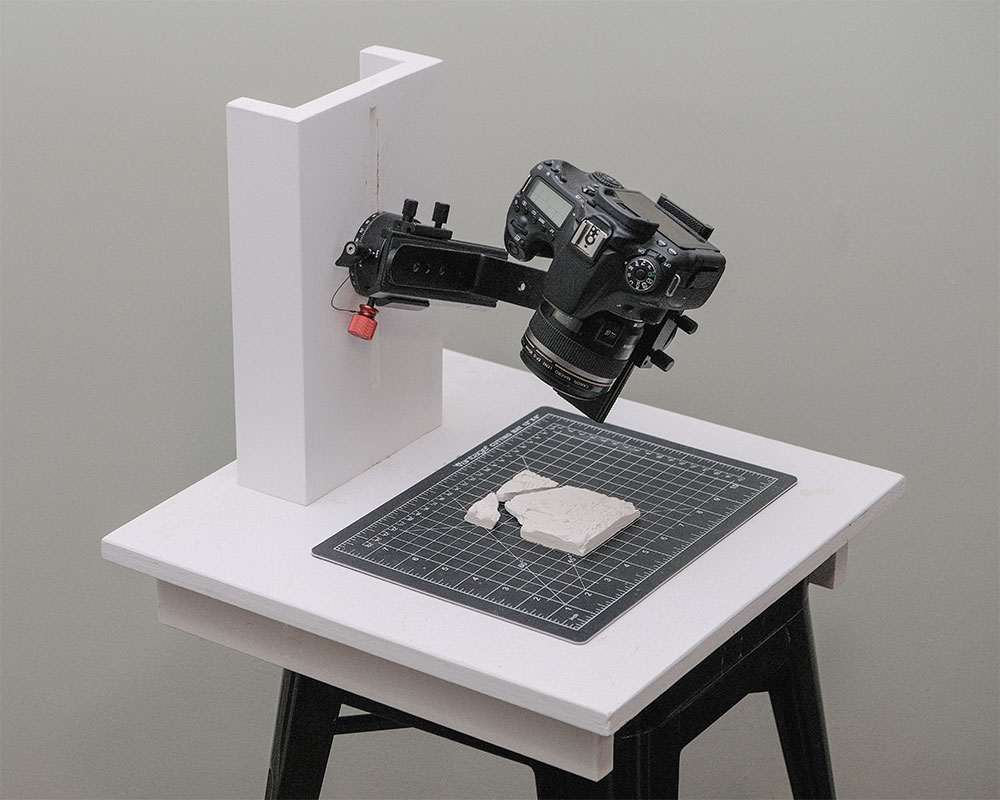
This is the set-up I use to photograph small-ish objects. It uses an older DSLR (Canon 70d) and an inexpensive macro lens (EF-S 60mm). However, there’s a little more going on here.
The camera is mounted to a panorama head, which allows the camera to be rotated about its optical center, allowing for panoramic compositions of small subjects.
Why not just use a better camera and lens? I considered this, but the results possible with this set-up are better than anything costing less than $10,000, albeit with some added complexity.
# How detailed?
The Canon 70d creates images that are 5472×3648 pixels, about 20 megapixels. Let’s say due to the softness created by various imaging elements and flaws within the lens itself, you can get 15 good megapixels out of this camera.
The lens in question will focus down to 1:1, meaning you can capture a subject the size of the imaging sensor (22.5 x 15mm). However, by using the panorama head, we can take multiple macro images and combine them later. Say, for example, you make a small sculpture that is 4″ by 3″.

If we take 8 images of this composition, we will get an image that is around 120 megapixels. Subtracting the overlapping and blank areas, we can call it around 90 megapixels, conservatively.
The image resolution would be around 10954 x 8216px.
However, we can zoom in much more than that.
If we zoom in all the way, we can take 32 separate images, creating an image of about 360 megapixels, or 21,909 x 16,432.
Printed at 300dpi, this would create a very sharp image that is 73″ x 54″.
Realistically, an image this detailed could be printed about as big as you want – at 20′ high, the detail would exceed perfect visual acuity at a distance of 4′.
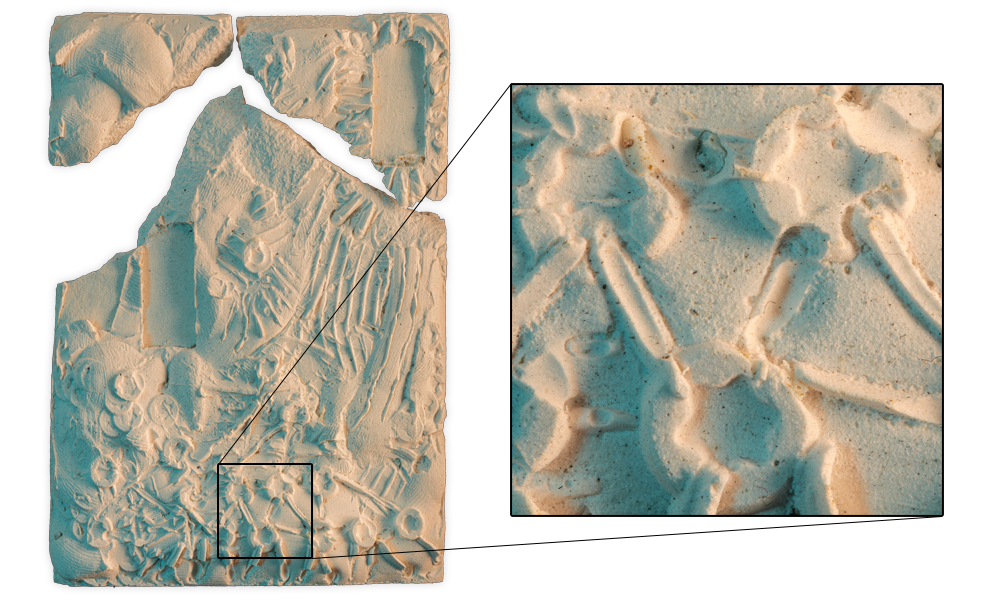
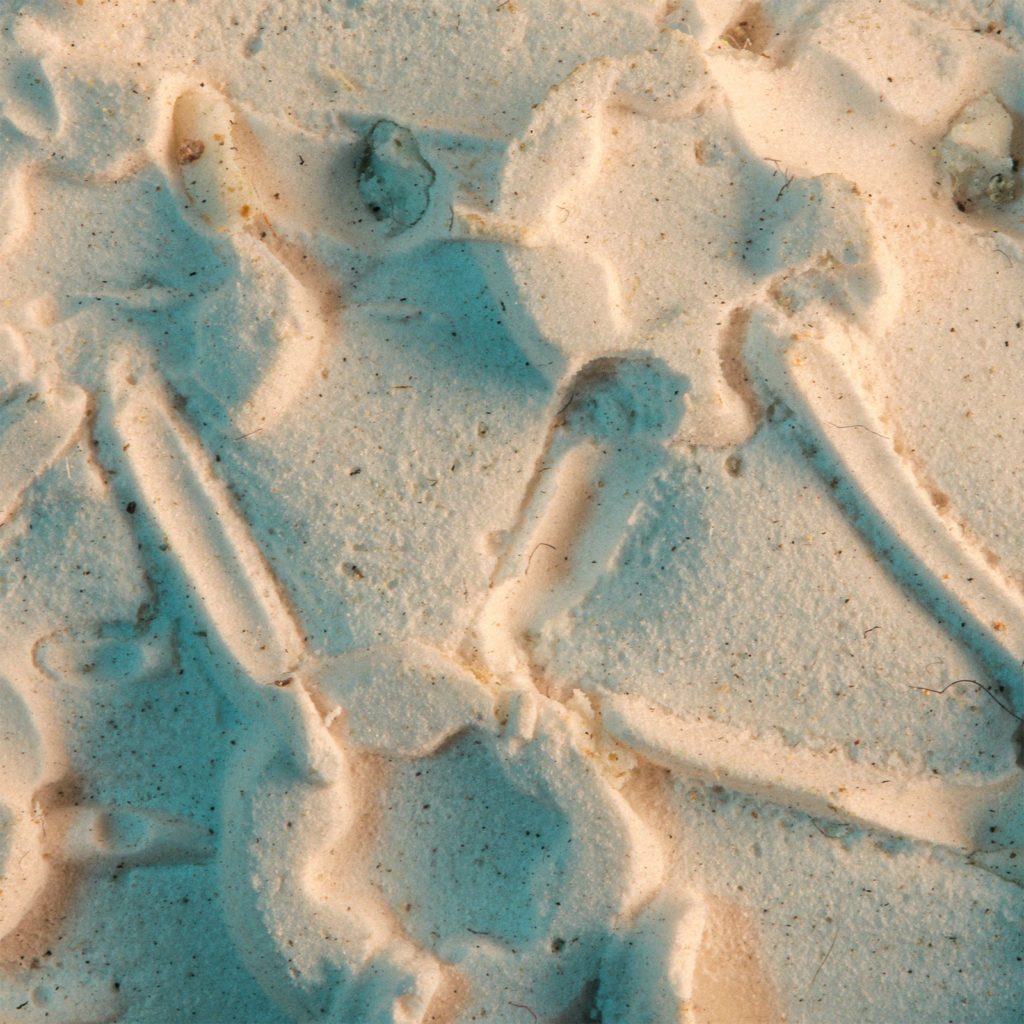
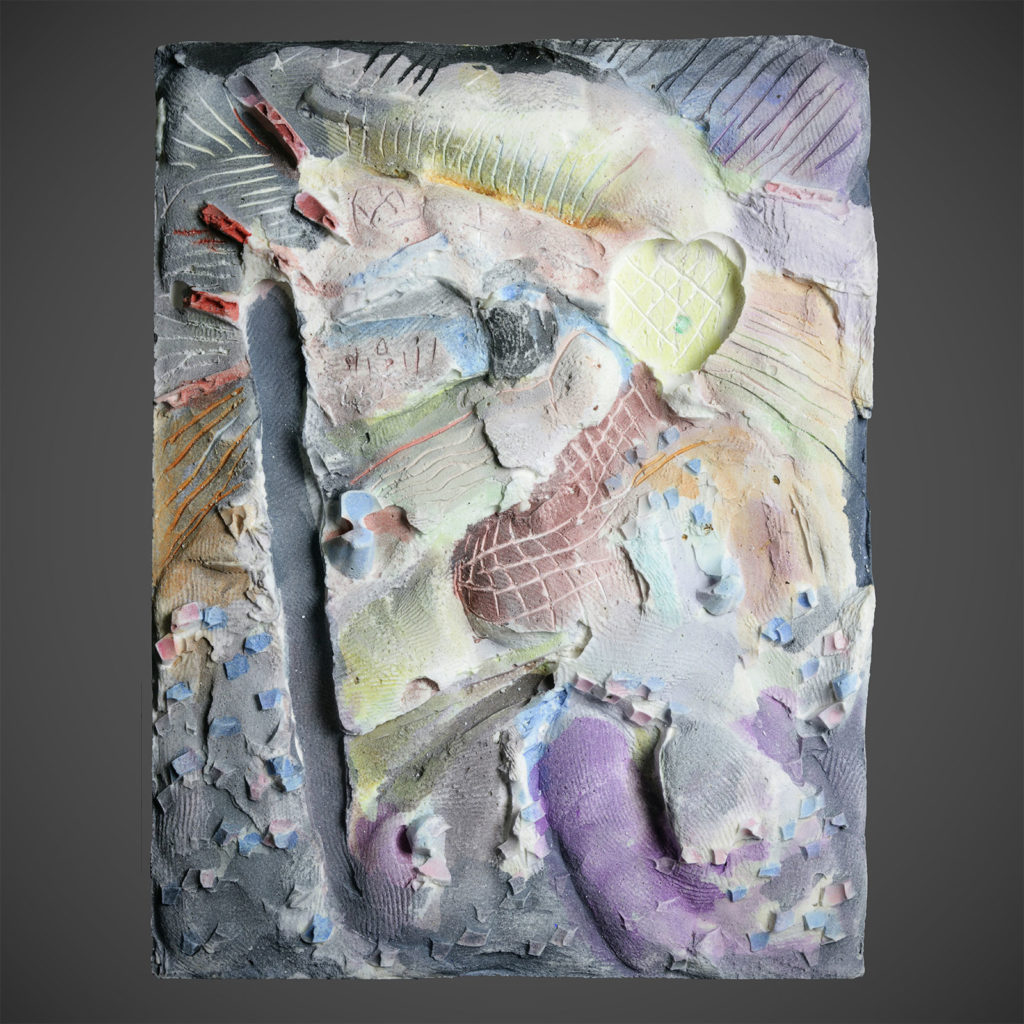
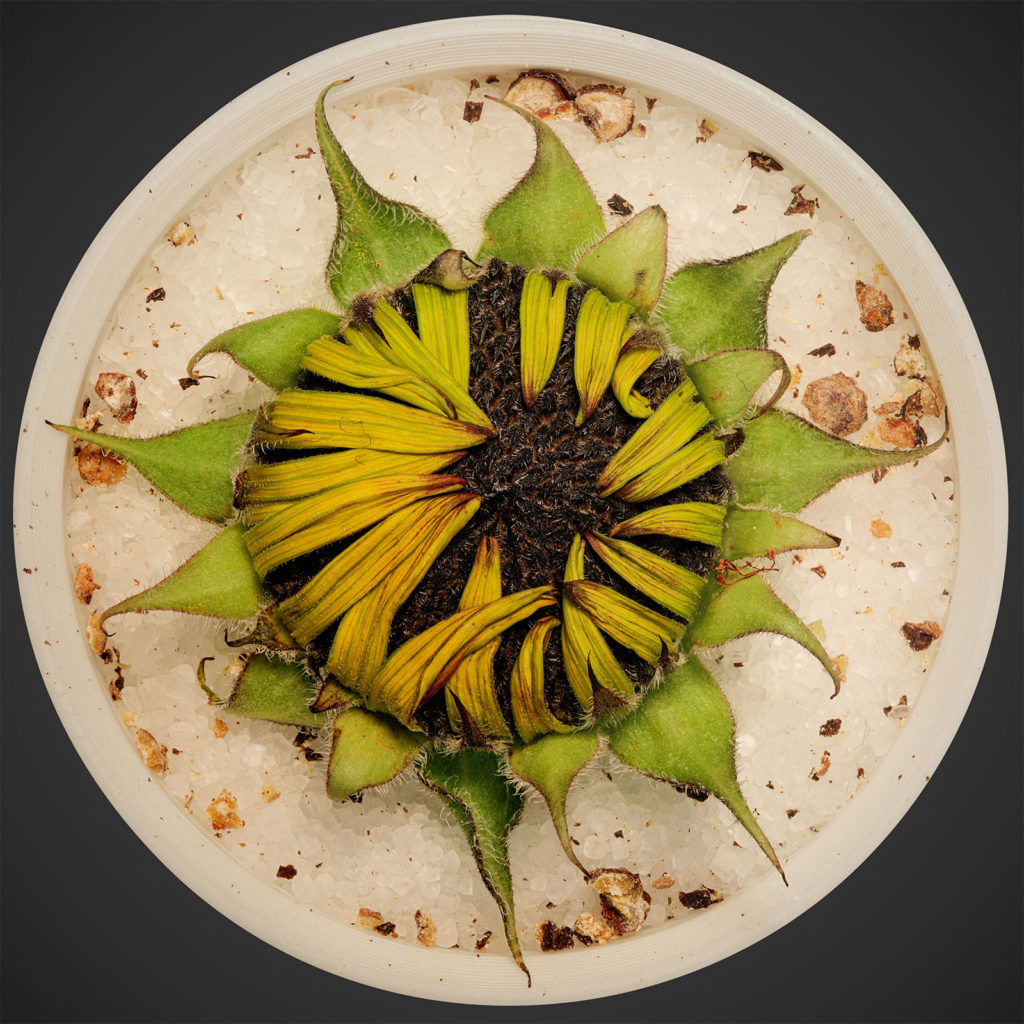
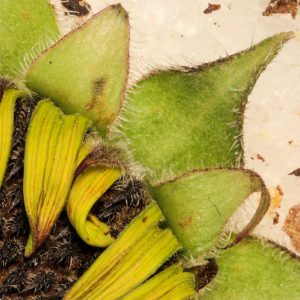
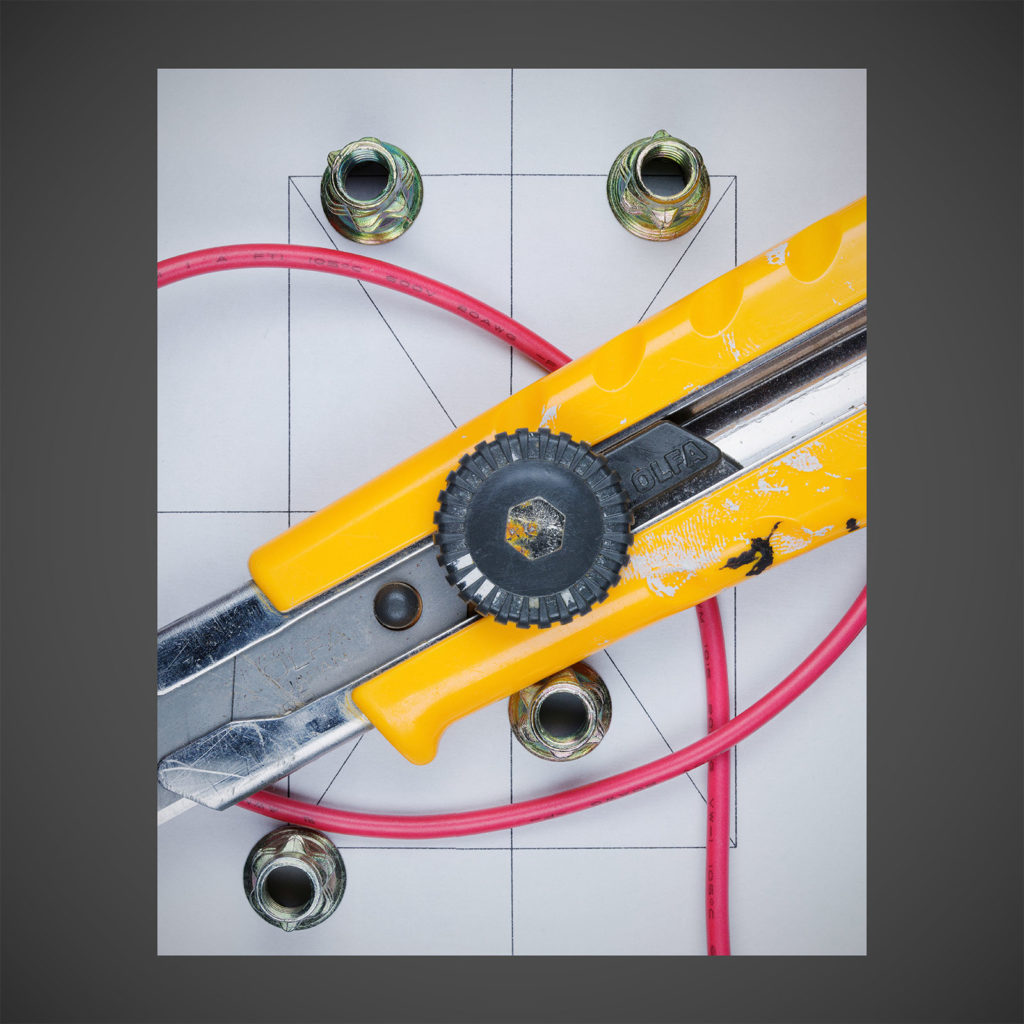
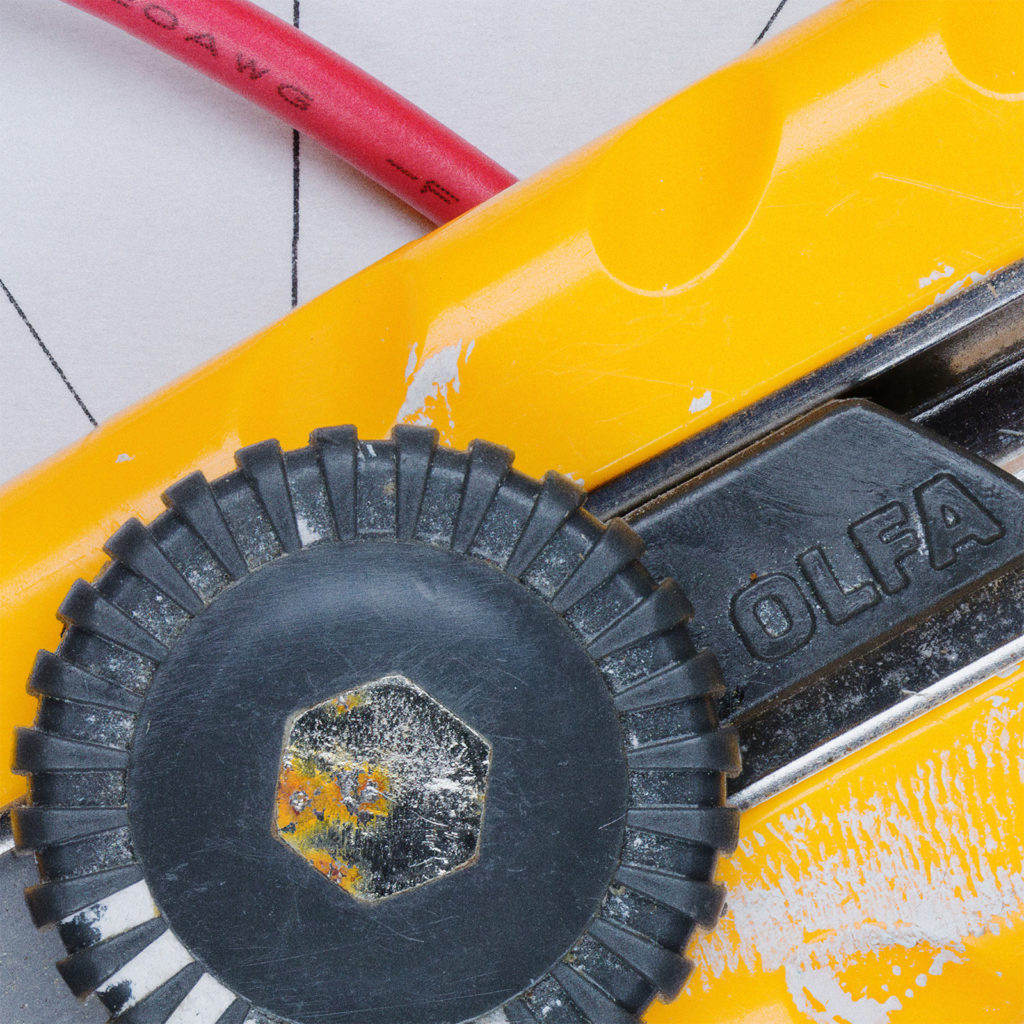
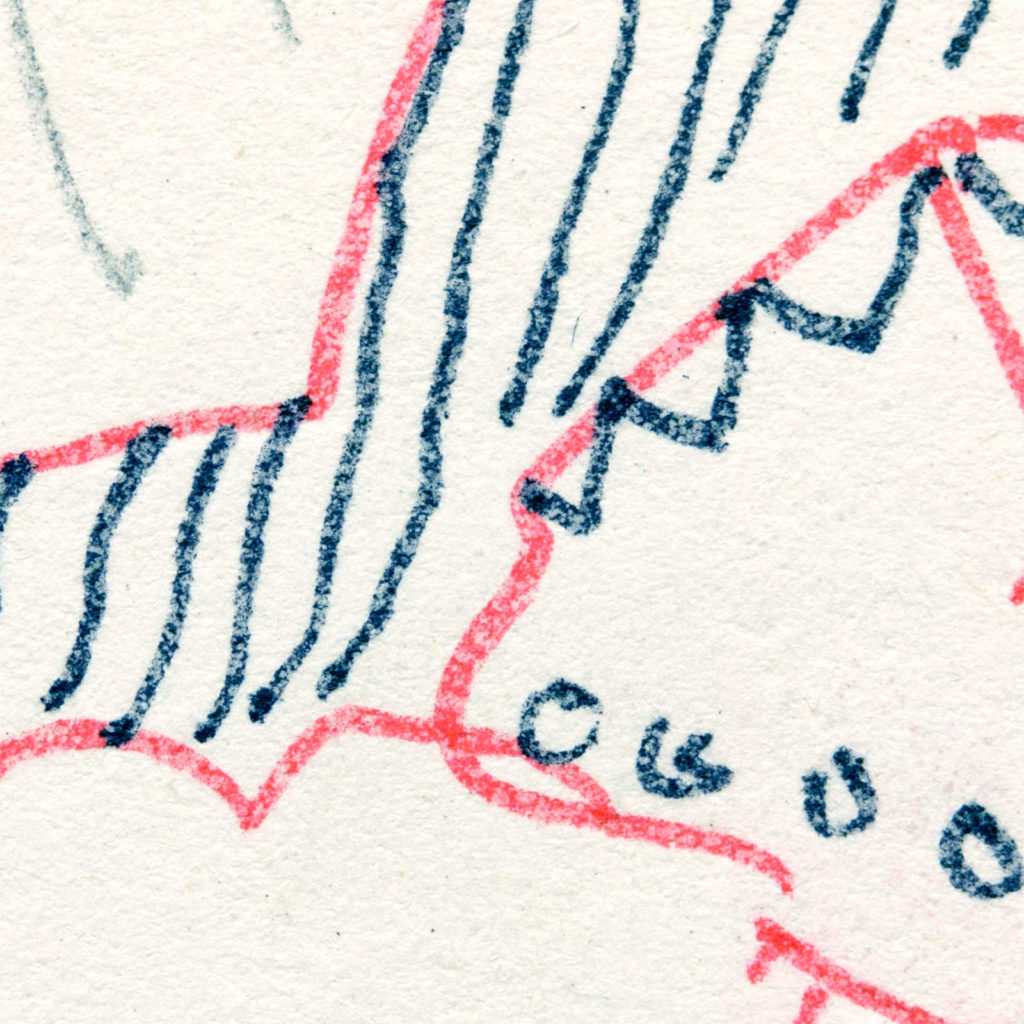
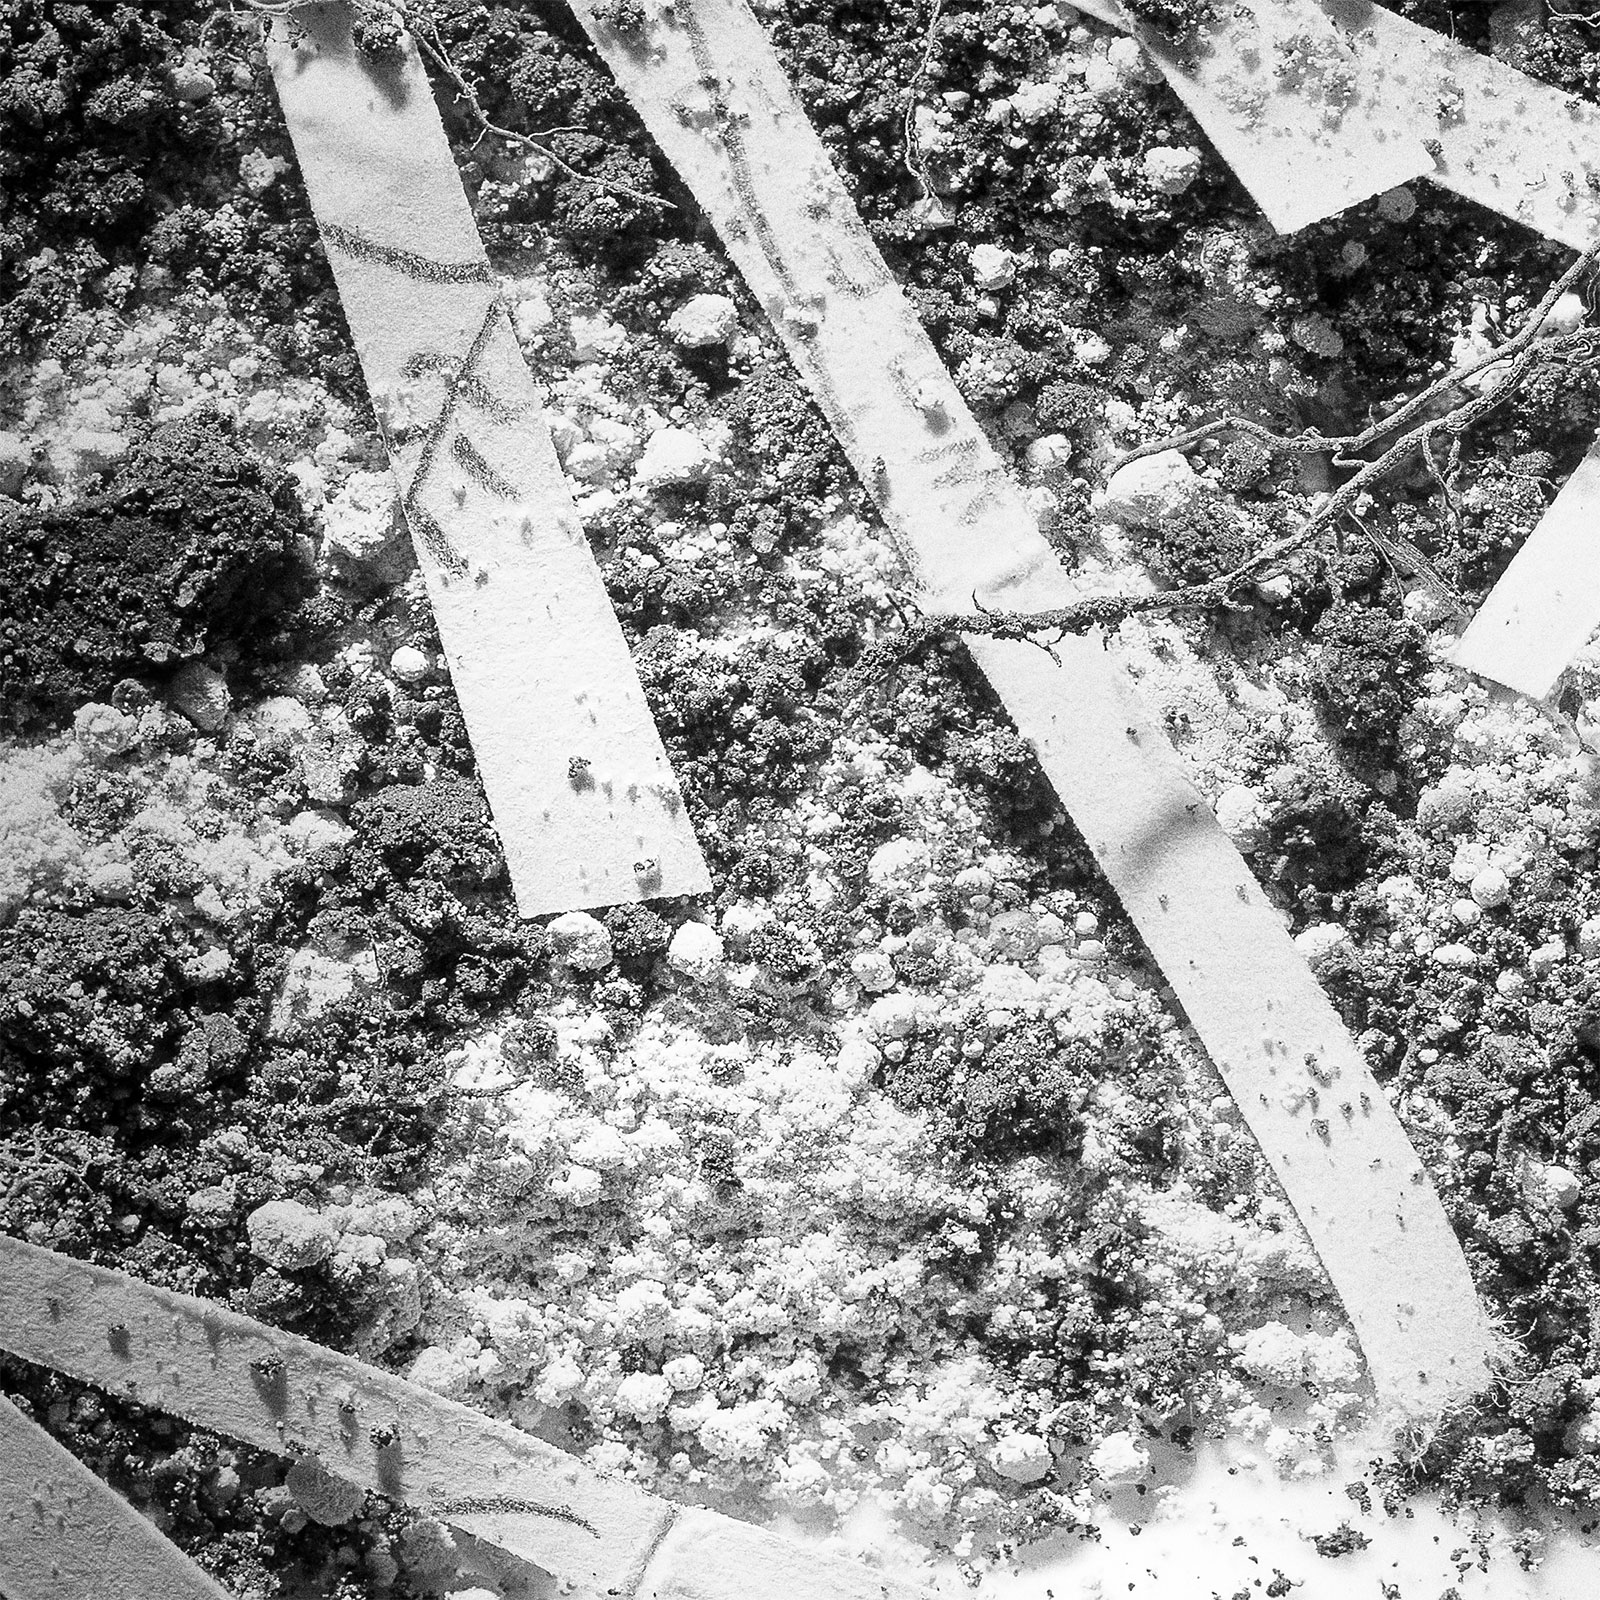
The challenge with this technique is not capturing the detail, but actually finding subjects with enough detail to be interesting at these magnifications. Natural objects tend to work well, as do mediums such as plaster that can retain extremely fine marks.
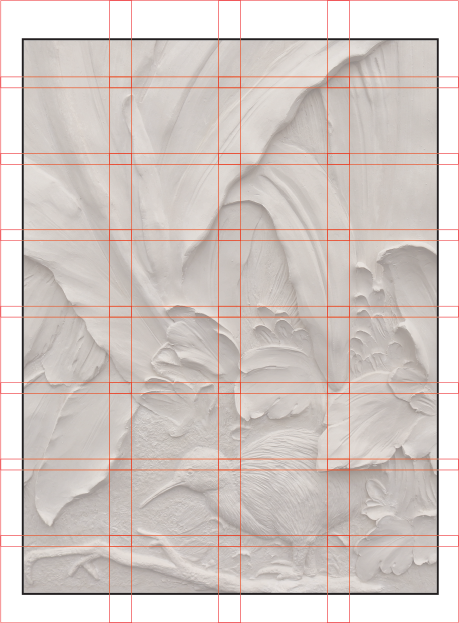
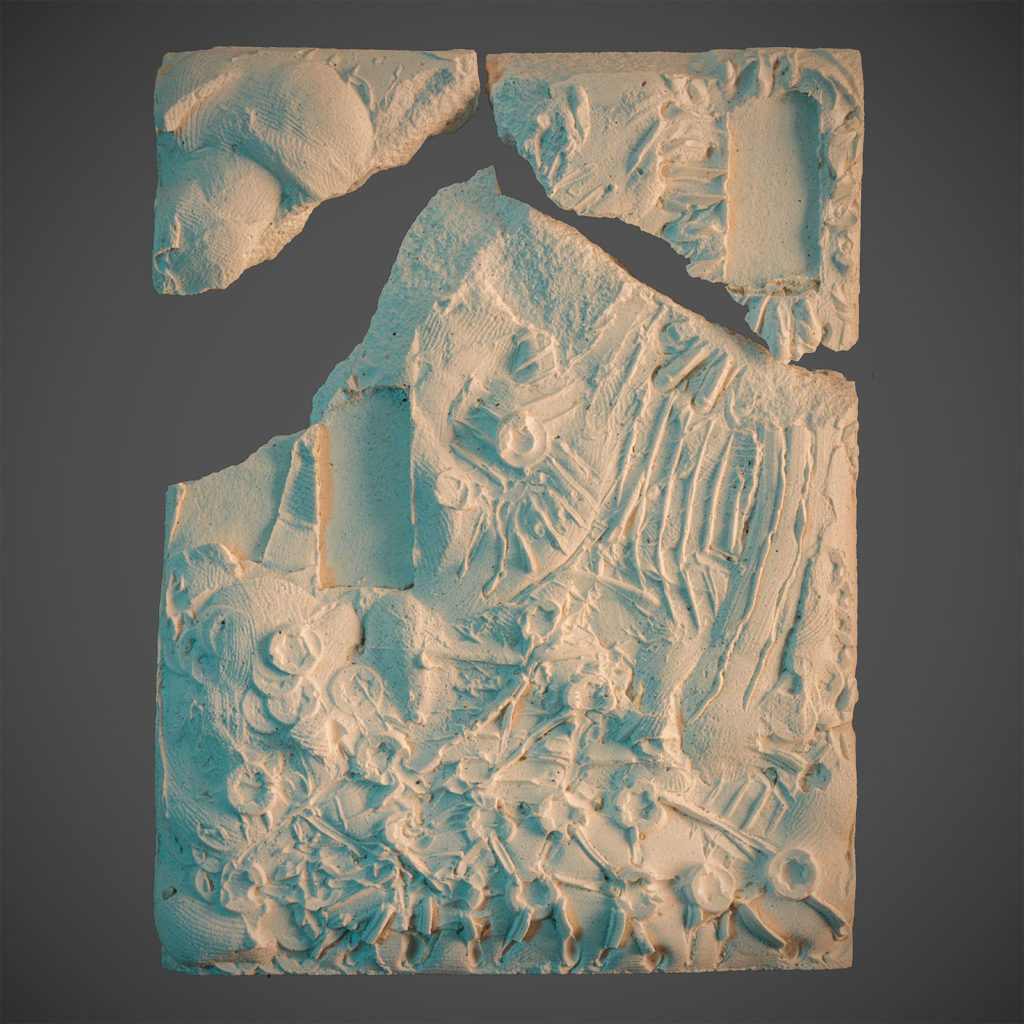
# Results
Below are some of the images I have created using this method. Note that all of these images have a certain amount of depth to them – in some cases, up to half an inch or so. At close distances, the depth of field is very small, so multiple images need to be taken at different focus distances, and combined using software. I use Helicon Focus.


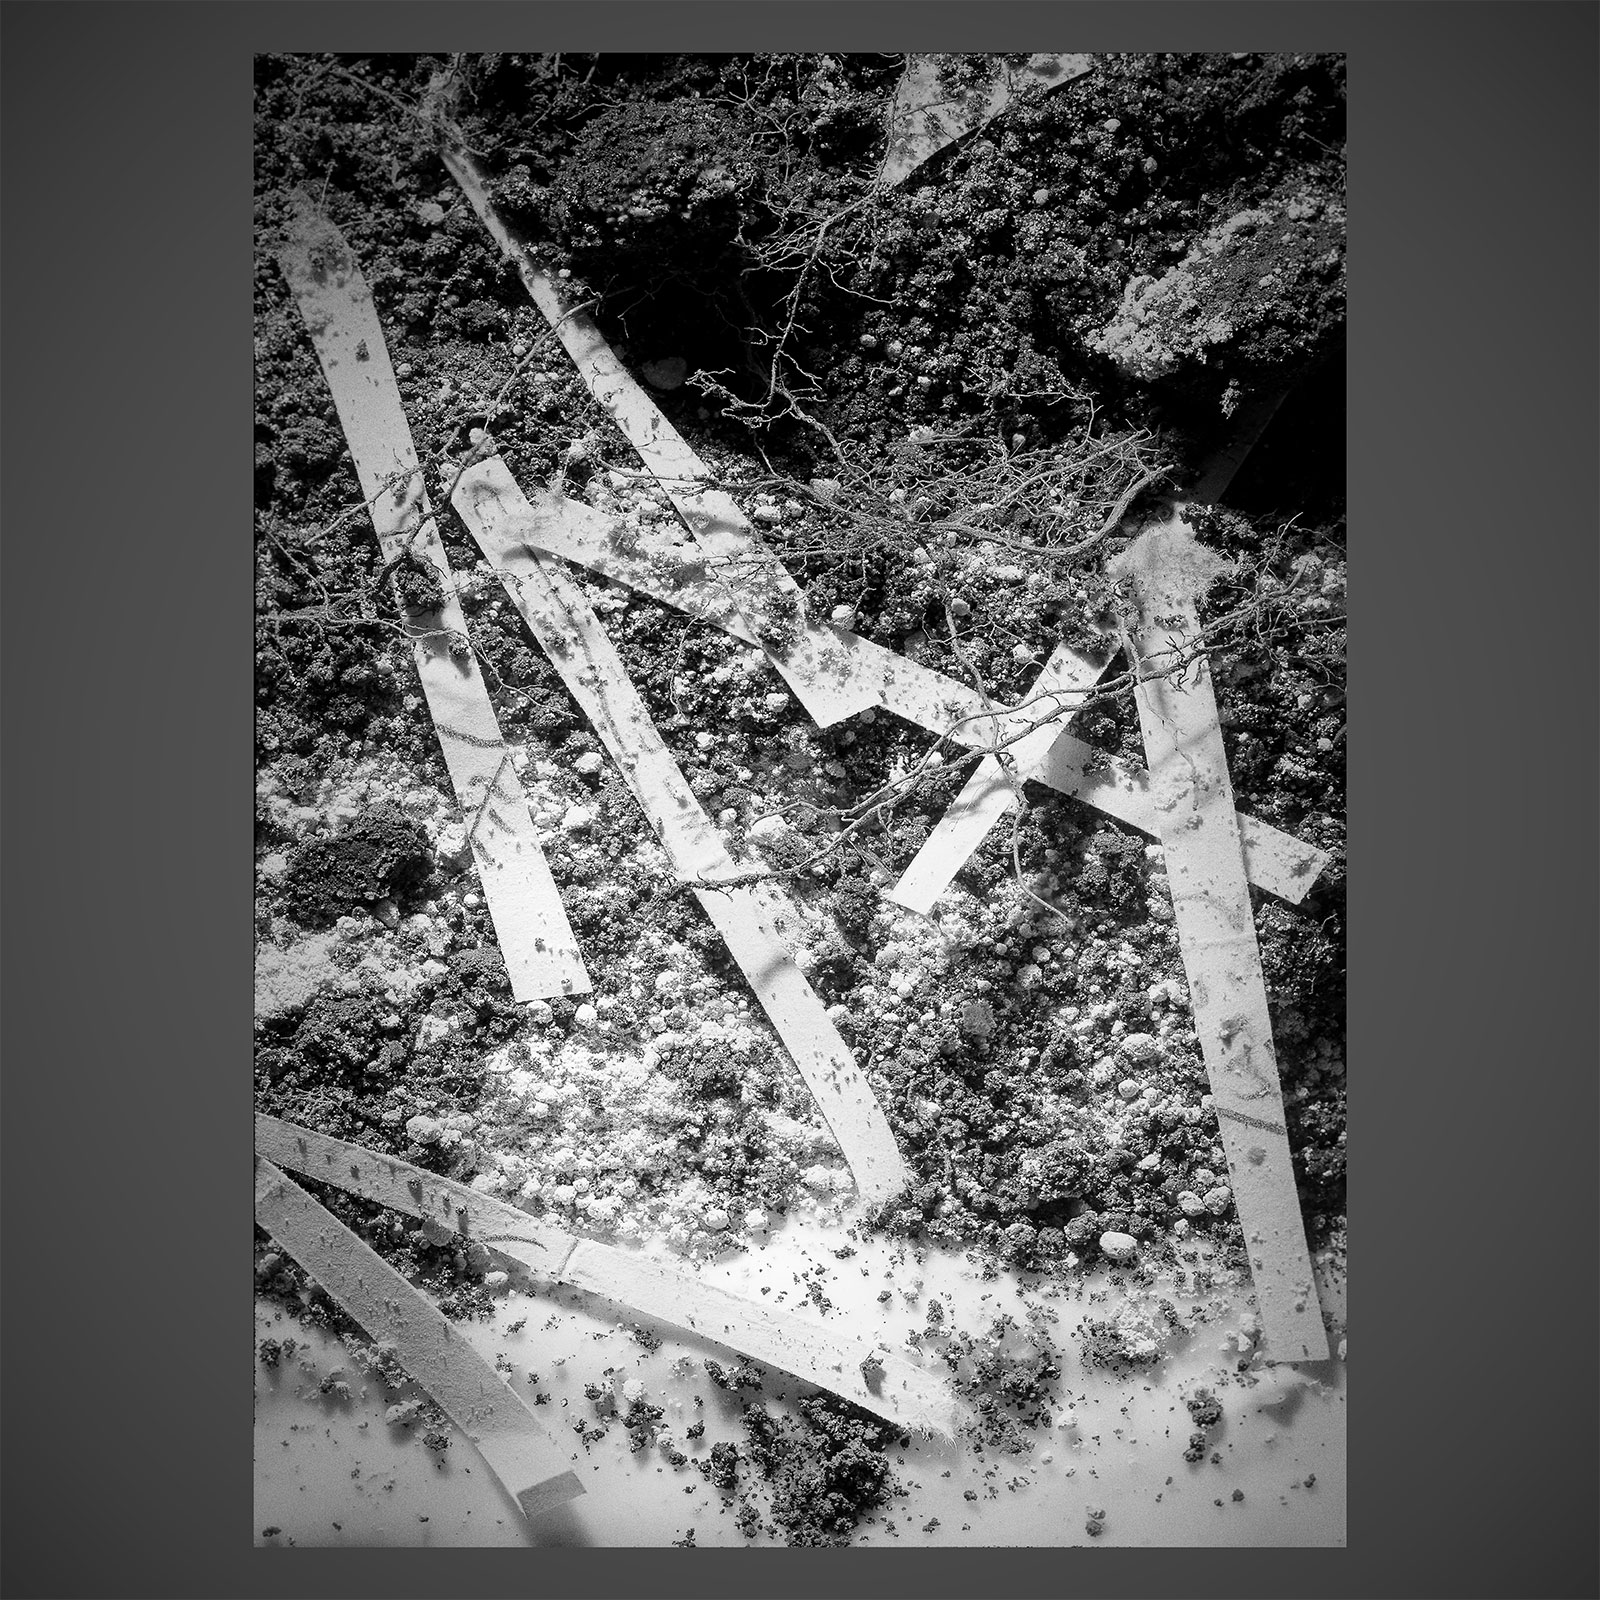
I have printed some of these works at up to 24″ x 36″, and the level of detail is very good. I have also done test prints simulating much larger images with positive results.
# Good printing services
For color images up to 24″ x 36″, I use Adorama, now called Printique. For larger sizes, I would recommend Giclee Today.
If you want an image on traditional black and white photo paper, try Digital Silver Imaging. I have some of their prints and they look very smooth and neutral. For very detailed black and white images with high detail and a flatter appearance, try Piezography.